How to Find the Right Bra Size: The Ultimate Guide to a Perfect Fit
Struggling to find the right bra size? This step-by-step guide will help you find your perfect bra you will enjoy wearing.
Why Wearing the Right Bra Size Matters
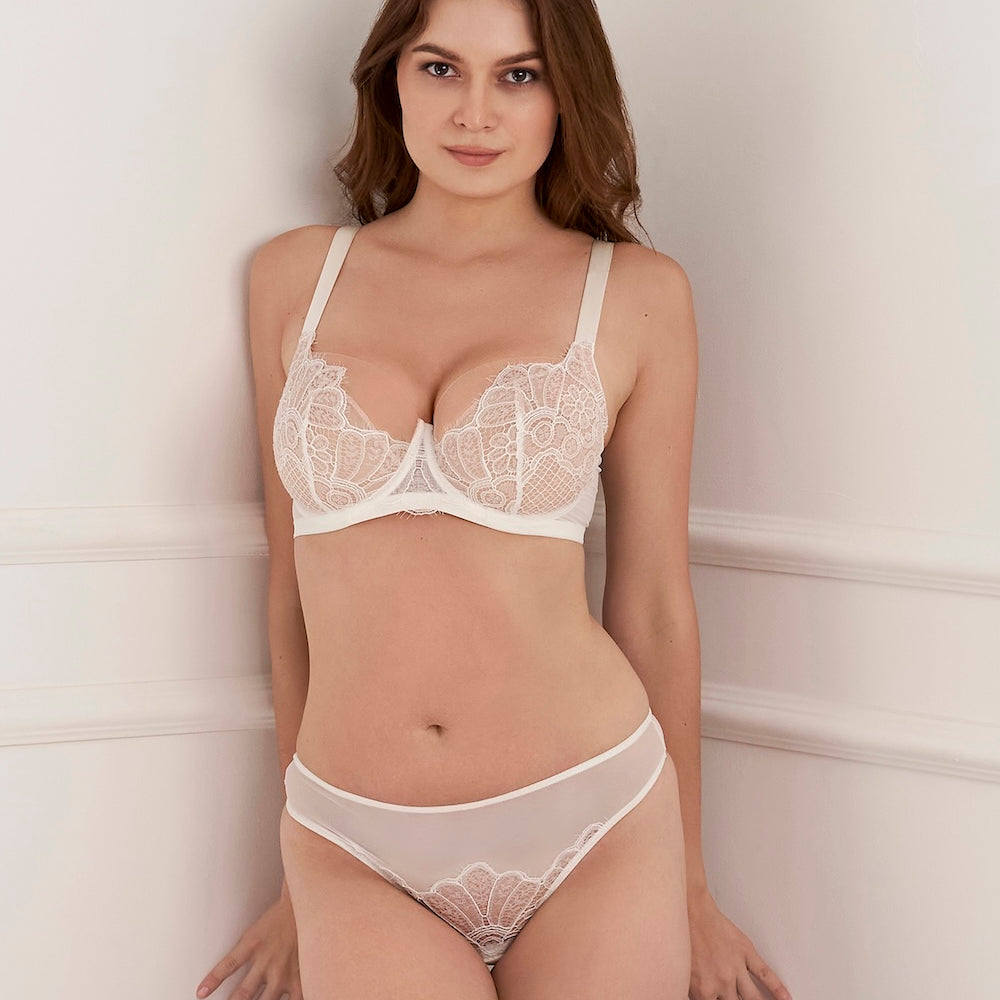
Does your bra make you look lumpy or never seem to stay in place? Or even worse, cause you pain or permanent grooves in your shoulders? This is simply a sign of a poor fit—but the good news is: there is a fix.
A properly fitting bra can be a total game changer. The right size can instantly improve your posture, relieve pressure from your shoulders and back, and even enhance your figure by creating a more defined waistline. And while finding the one may seem overwhelming, don’t worry—we’ve put together the ultimate bra fitting guide to help you get it right.
But before we dive in, here are two key things you need to know:
Key Point #1: You Don’t Have Just One “Perfect” Bra Size
If you’ve ever tried on the same size in different brands and gotten completely different results, you’re not alone. Bra sizing isn’t universal! You might be a 34D in one brand, a 32E in another, and a 34DD in yet another. Even within the same brand, different styles can fit differently, so having a range of sizes is totally normal.
Key Point #2: Bra Fitting is More of an Art Than a Science
Sure, size charts and measuring tapes can give you a starting point, but the only way to truly know if a bra fits is to try it on. The best skill you can develop isn’t just knowing your size—it’s recognizing a great fit when you see (and feel) it. And that’s exactly what we’re here to help with.
Step-by-Step: How to Measure Your Bra Size Correctly
First, let’s take some body measurements to establish your most probable bra size. Remember, this is only a starting point.
No measuring tape? Use ribbon, string, floss, or even your headphone cord—and measure it against a ruler or app.
Pro tip: Wear your best-fitting bra and stand in front of the mirror. A saggy or unsupportive bra will throw off your numbers!
Step 1: Measure Your Bust Size (Overbust)
Wrap the tape around the fullest part of your chest. Keep it level and snug, but not too tight.
Step 2: Measure Your Band Size (Underbust)
Measure right under your breasts, around your ribcage where your bra band sits.
Step 3: Calculate Your Approximate Cup Size
Subtract your band size from your bust size. Then use this guide:
-
1 inch = A
-
2 inches = B
-
3 inches = C
-
4 inches = D
-
5 inches = DD/E
-
6 inches = DDD/F
-
And so on.
Example:
Underbust = 34 inches → 34 band
Overbust = 38 inches → 38 - 34 = 4-inch difference
4-inch difference = D cup → 34D
And that’s it—you’ve got your starting point! Now let’s fine-tune it...
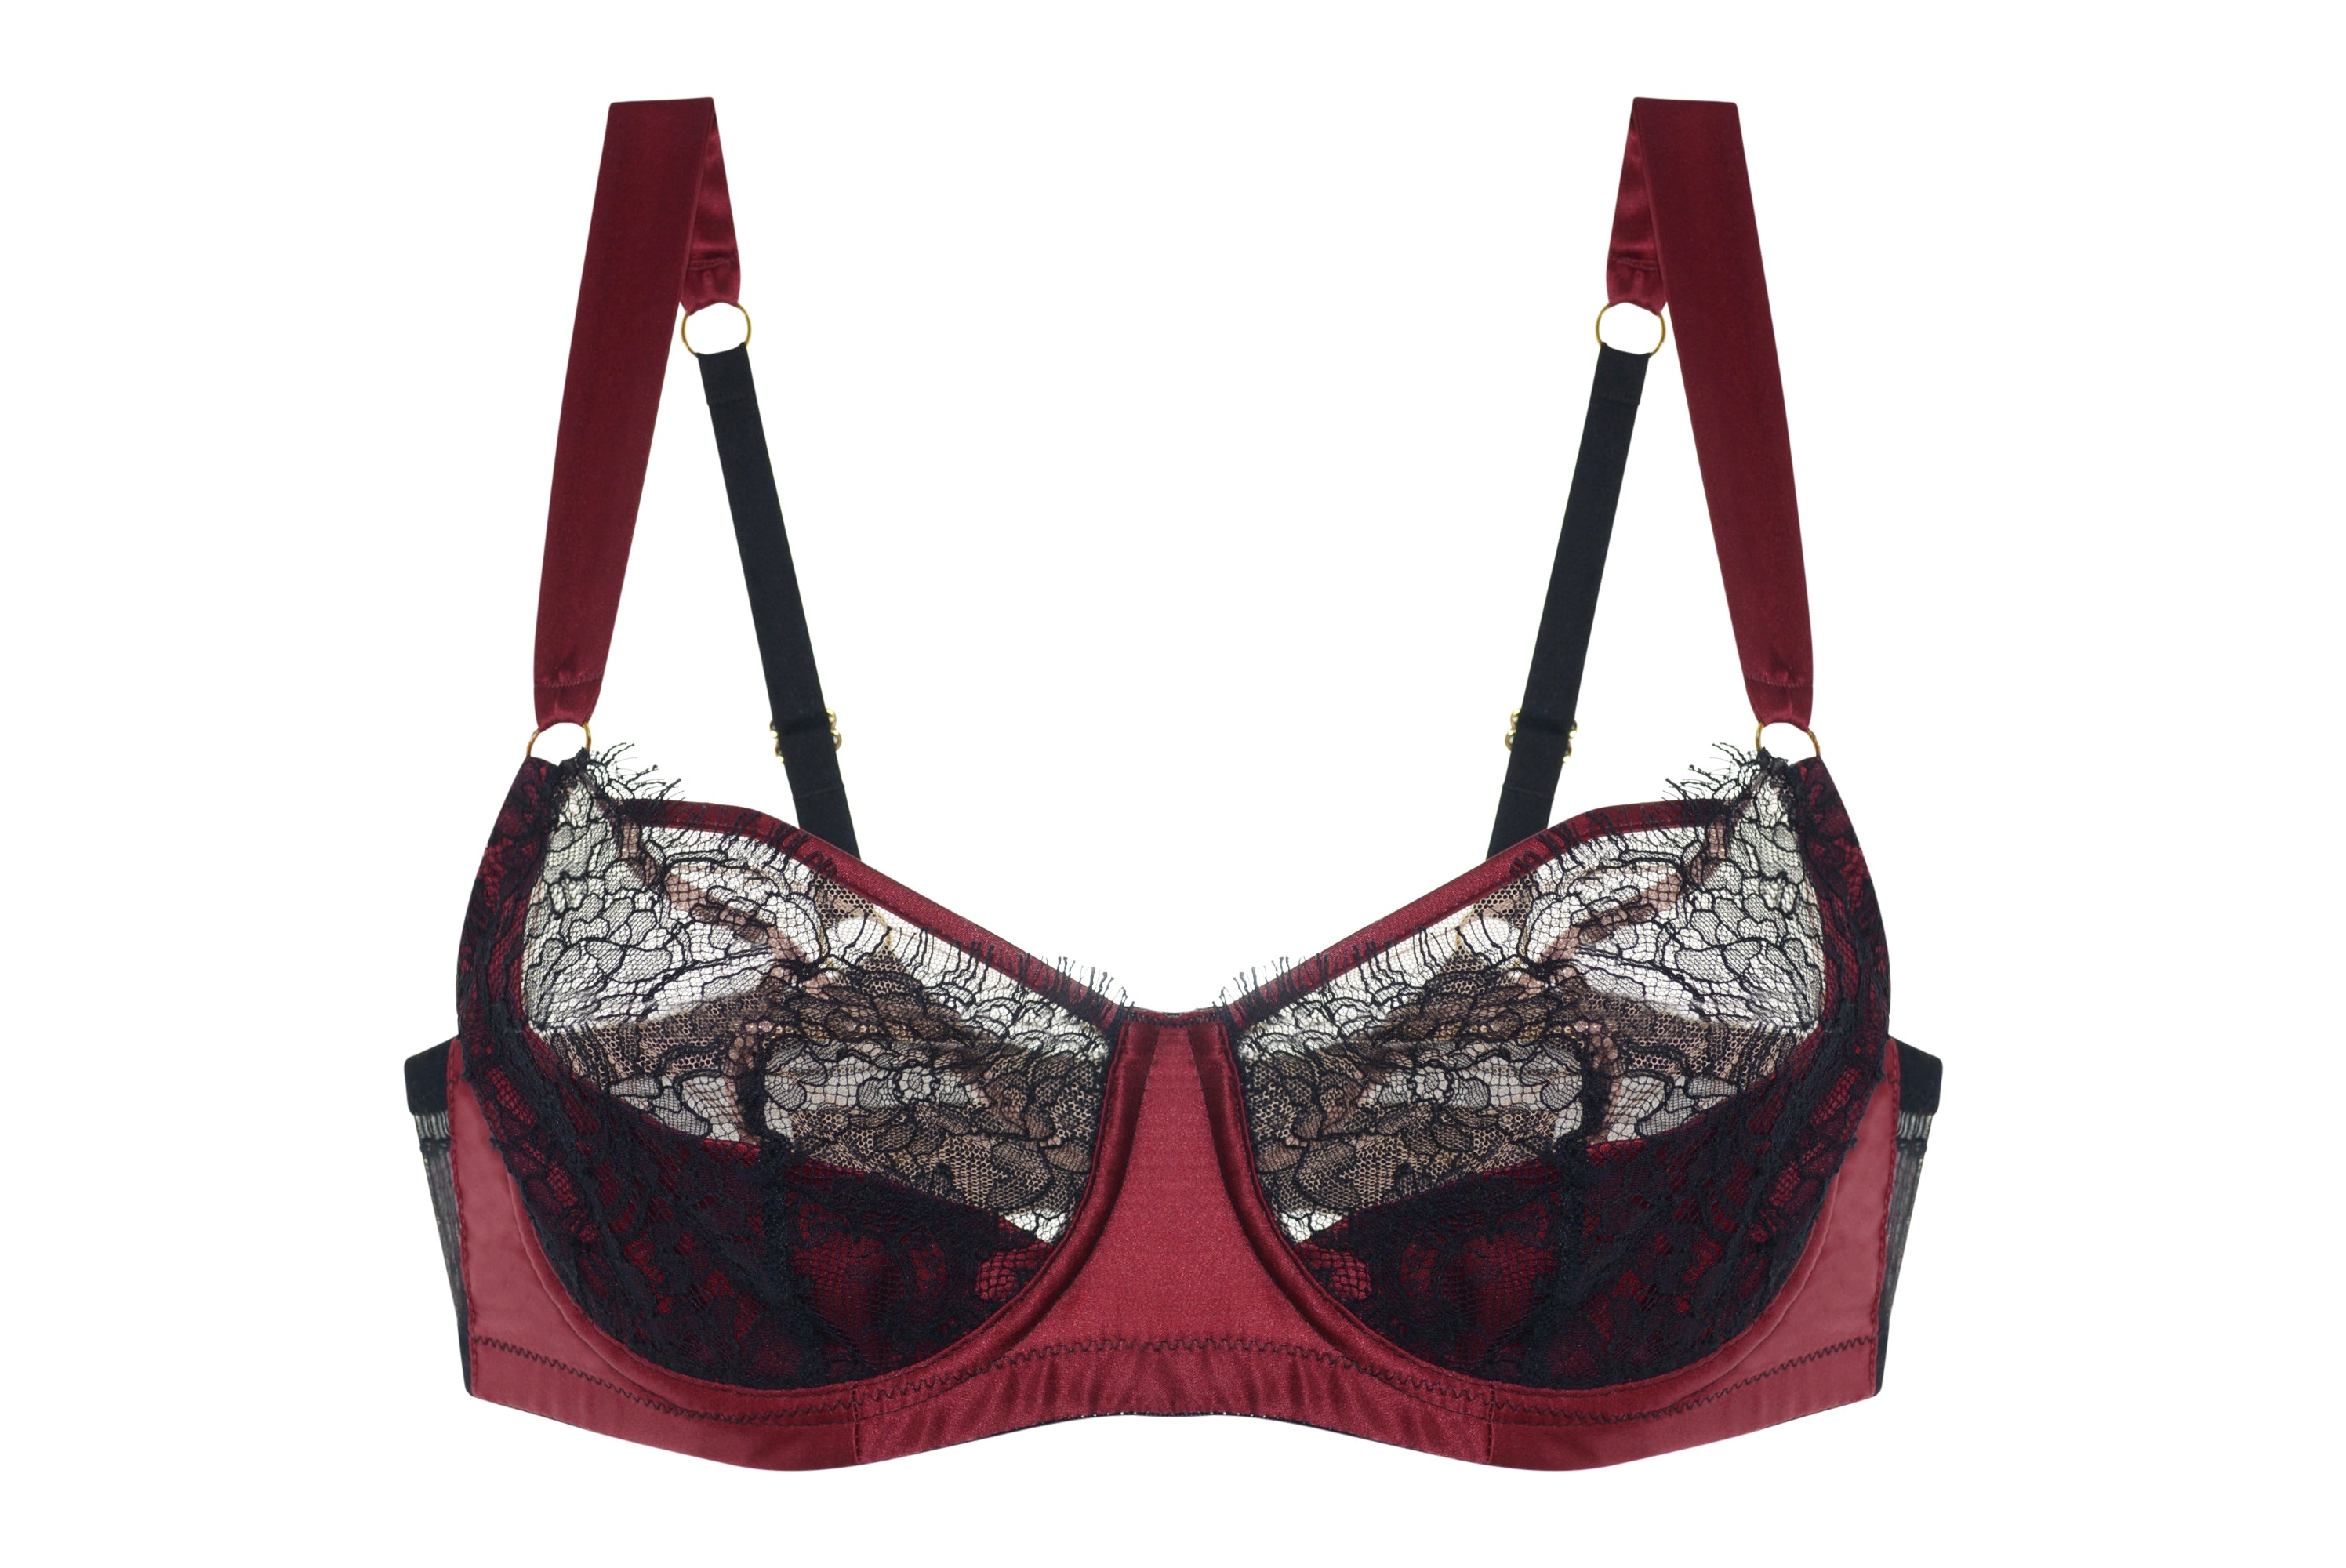
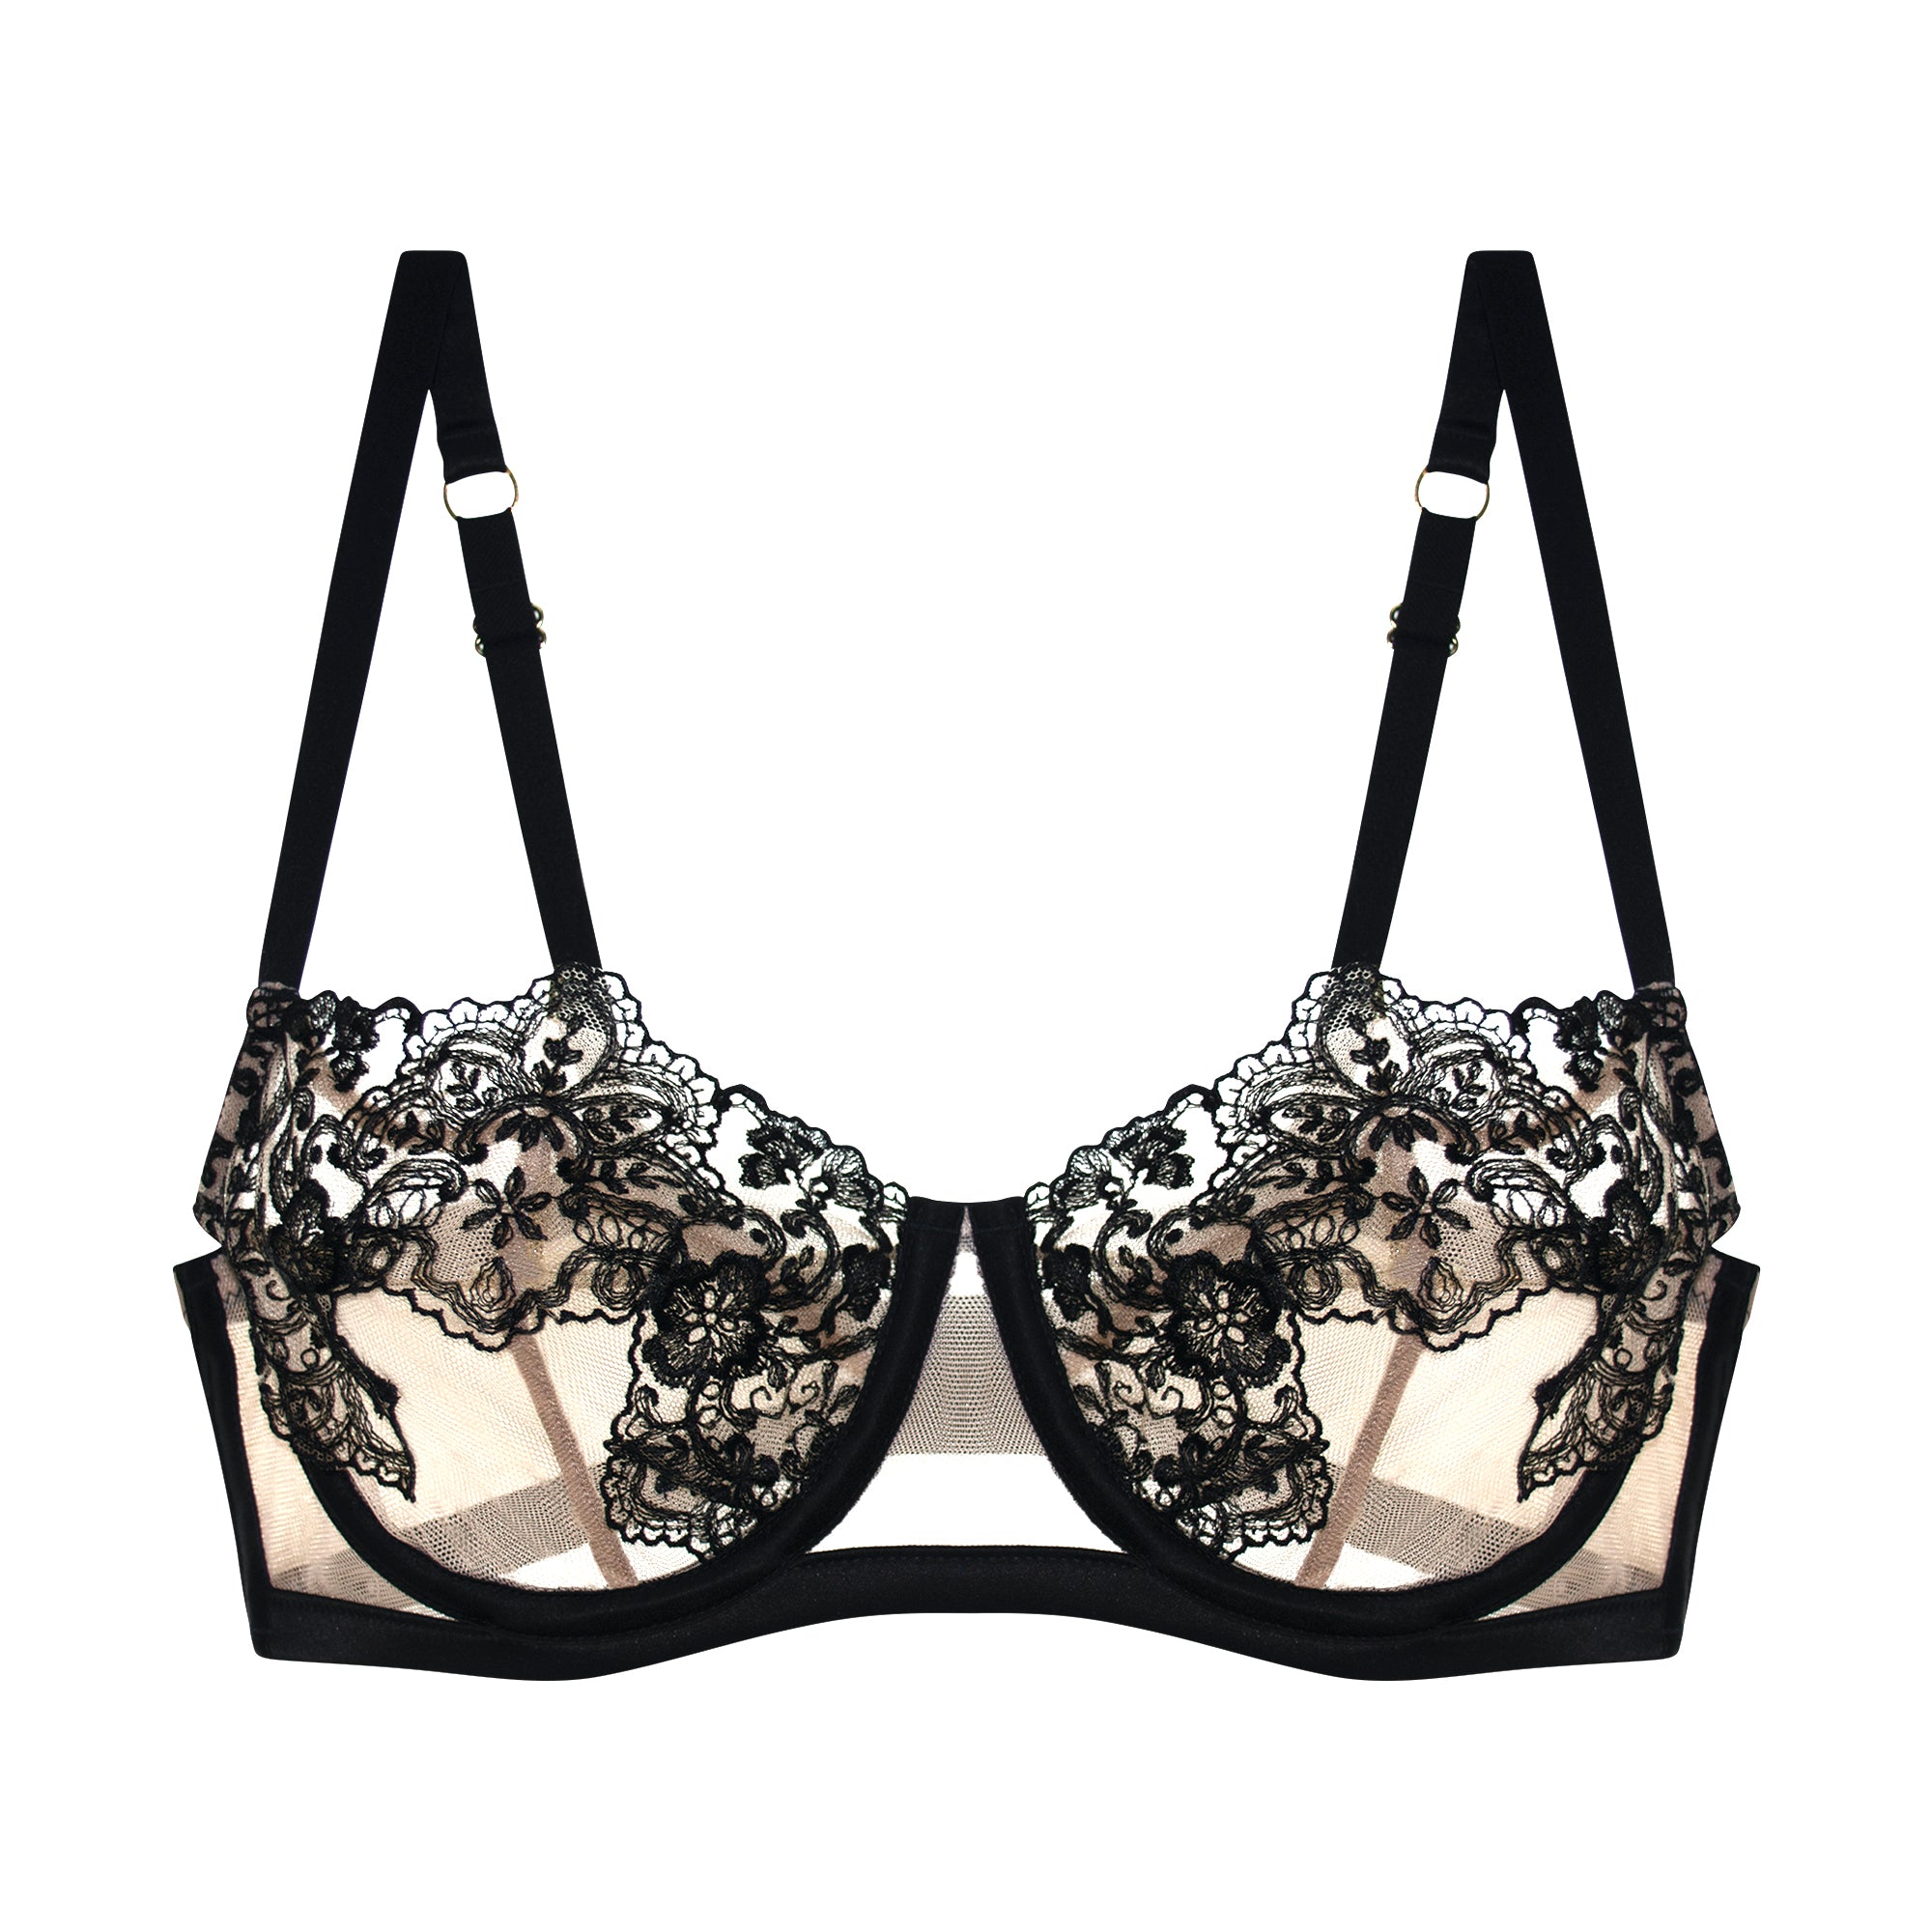
Bra Fitting 101: How to Tell If a Bra Fits Properly
Try a bra on in your calculated size and tweak the size until you get the right fit. You will repeat this process as many times as necessary until you find your perfect bra.
Sometimes the calculated size from your measurements will be your actual perfect size. Typically, however, you will need to adjust it, but usually not more than once or twice.
If the cups don’t fit right, change the cup size.
If the band doesn’t fit right, you’ll need to adjust both the band and the cup size (see Sister Sizes section below). Yes, you read that right! Changing the band size will automatically alter the cup letter (we’ll clarify this in the Bra Sizing Explained section further down this page).
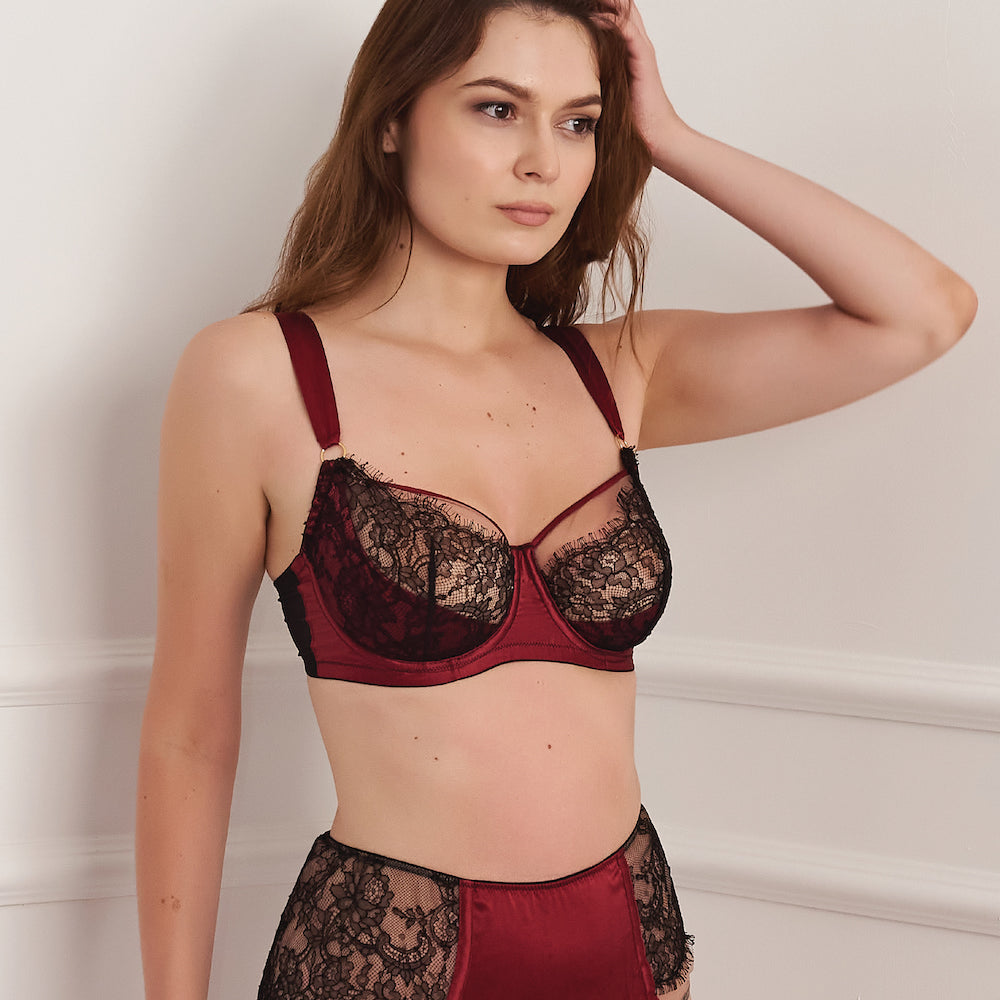
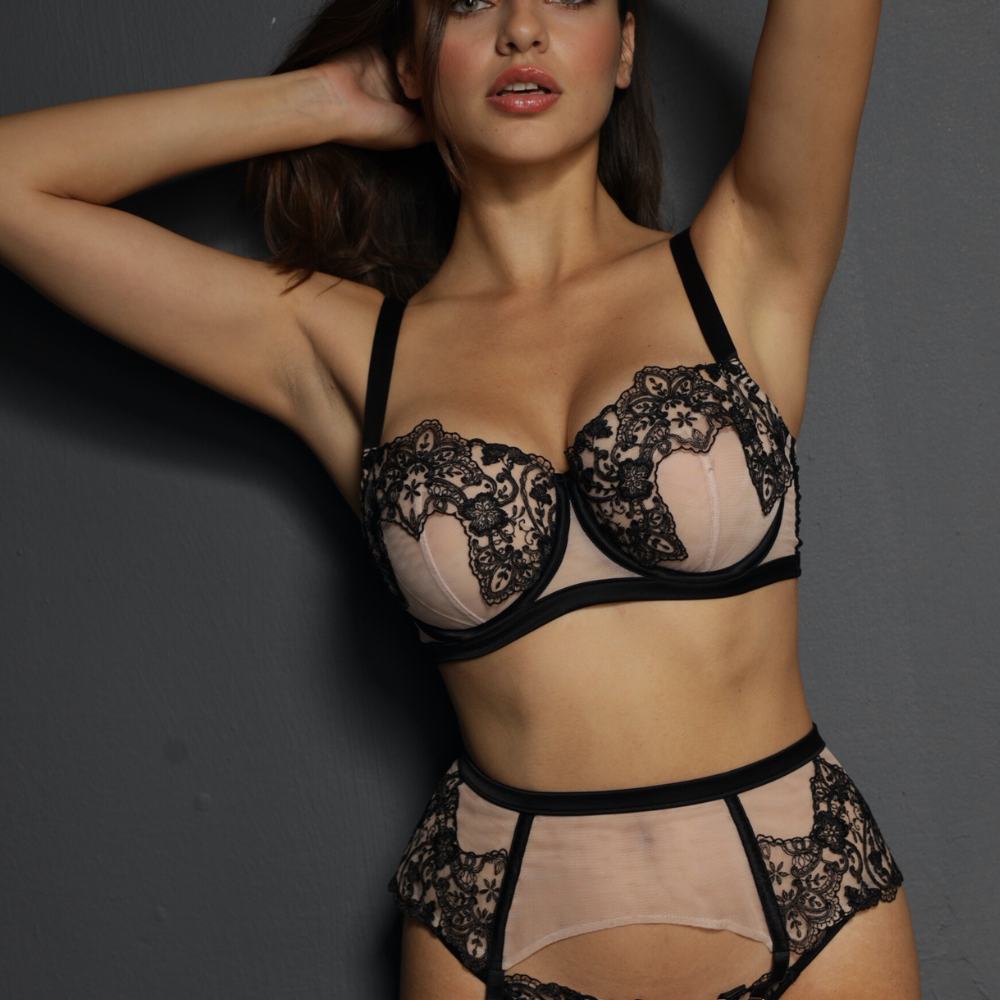
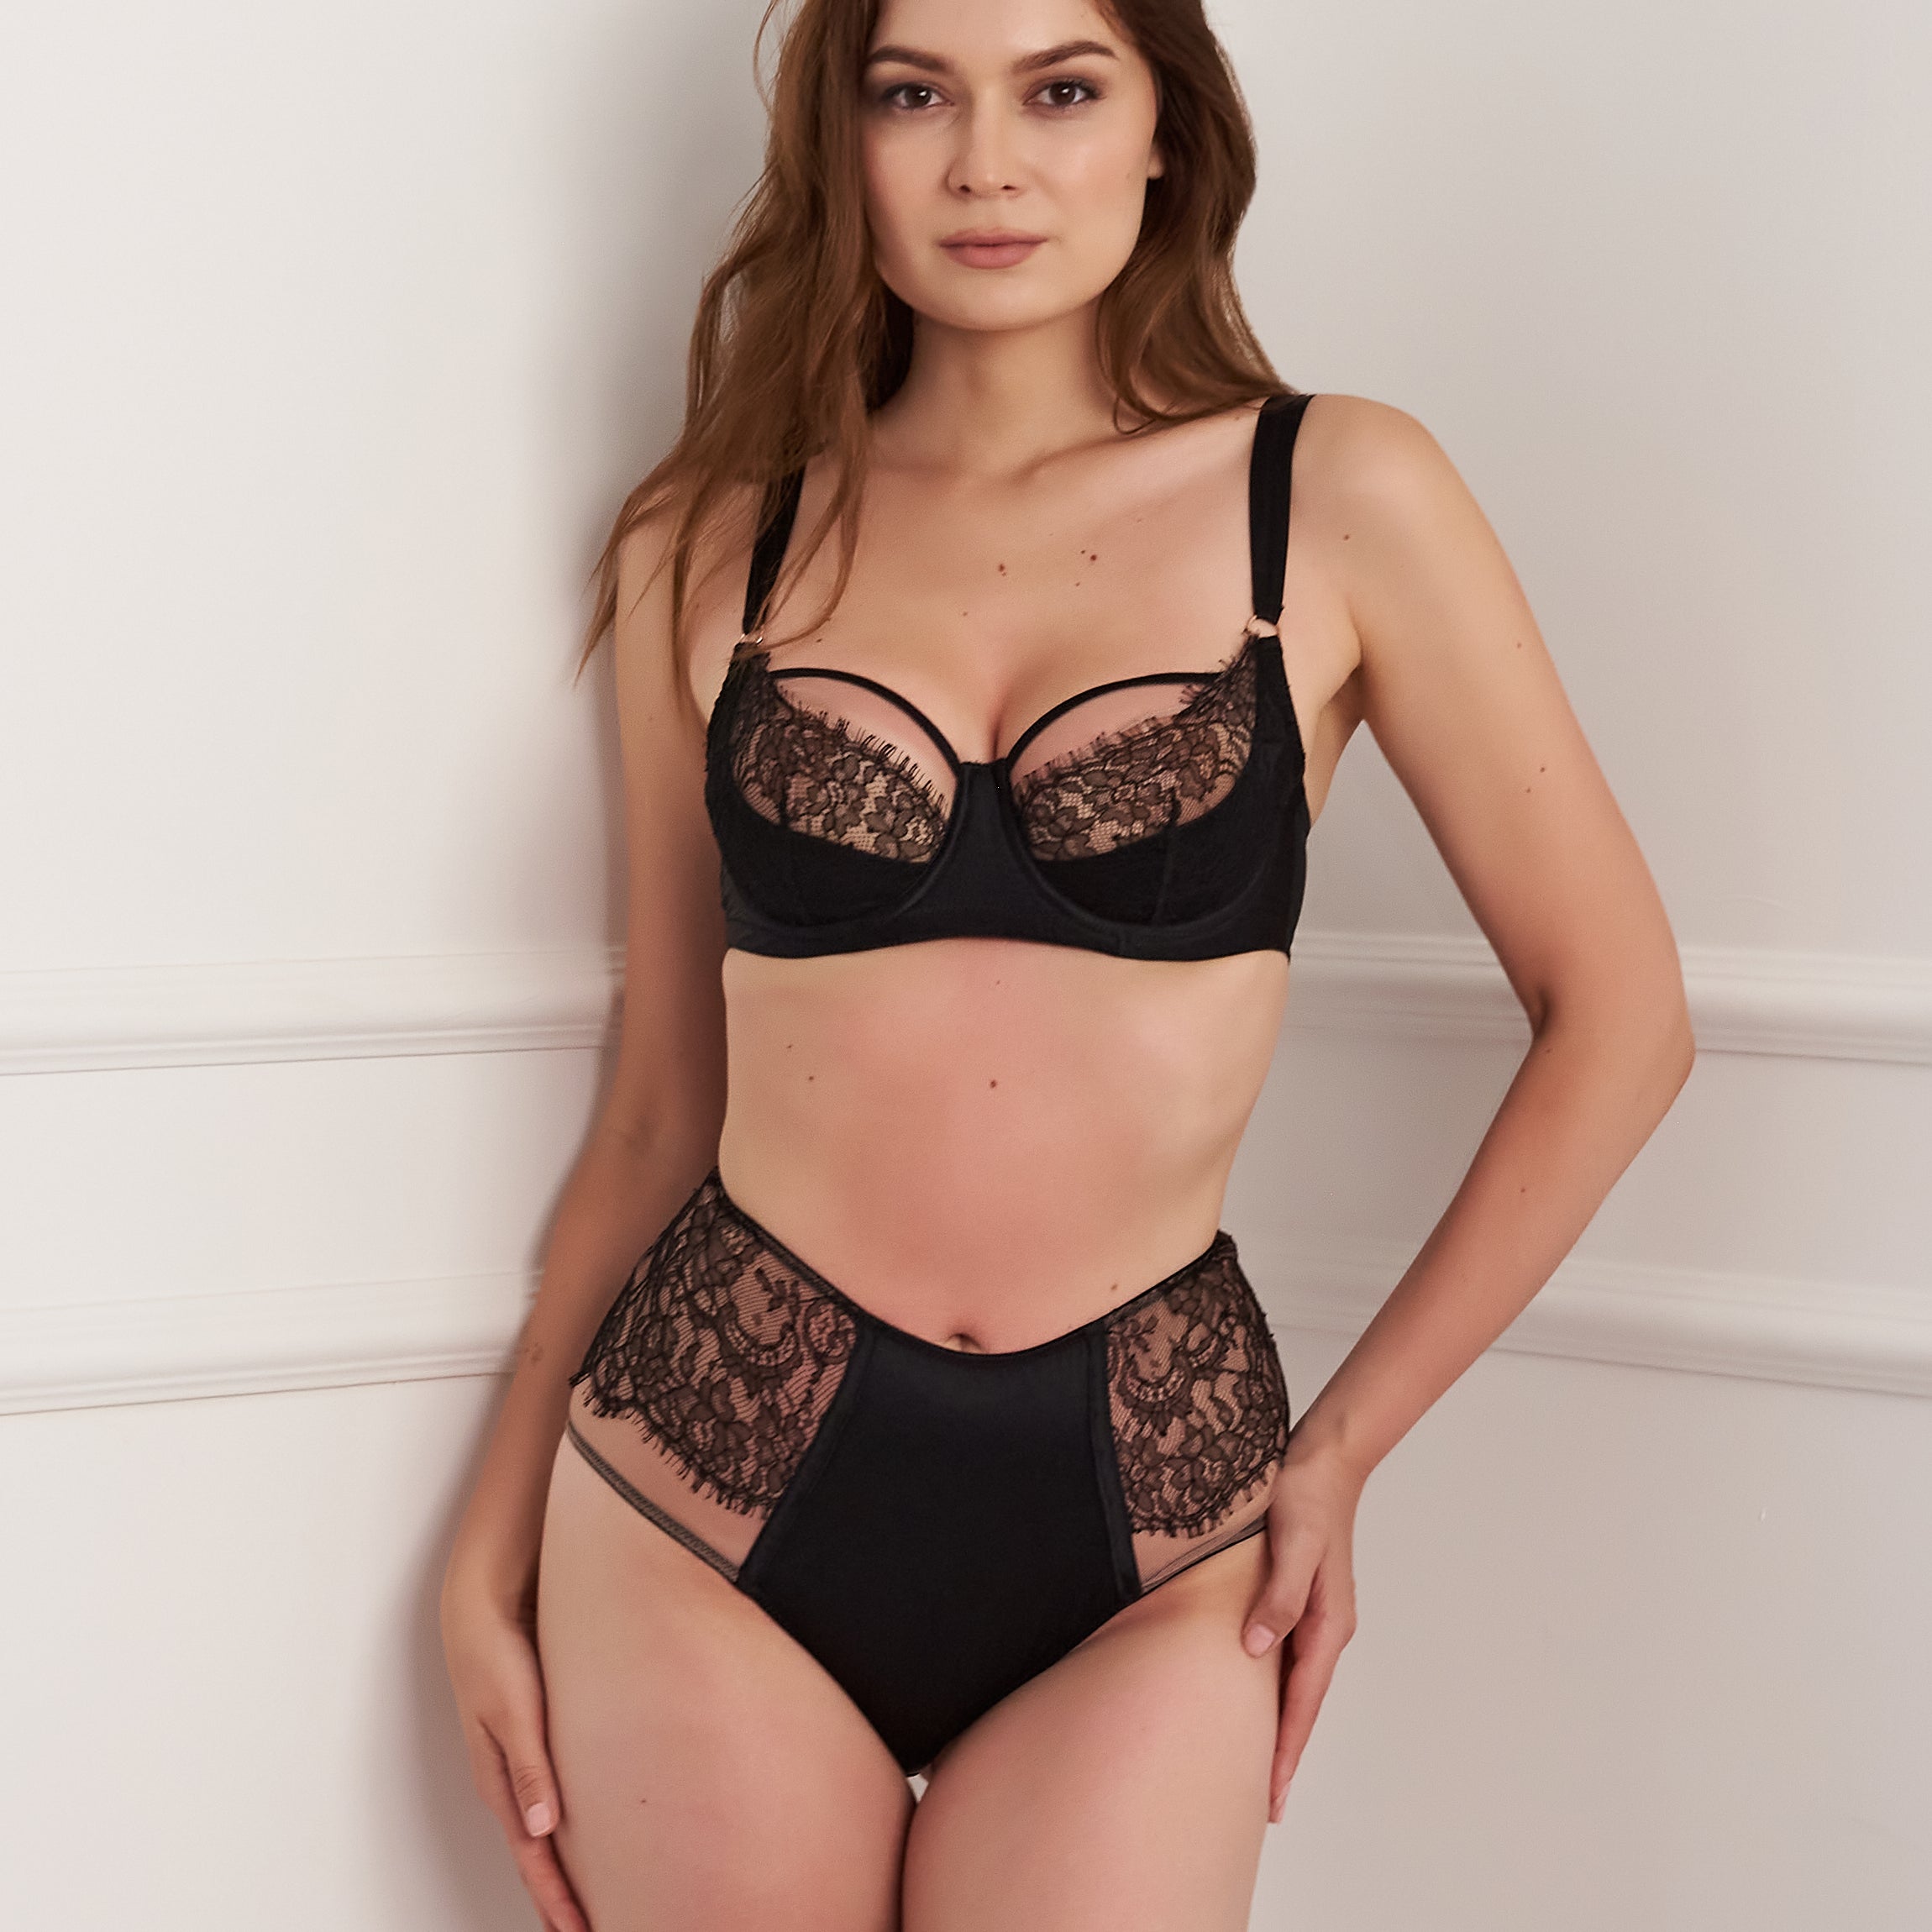
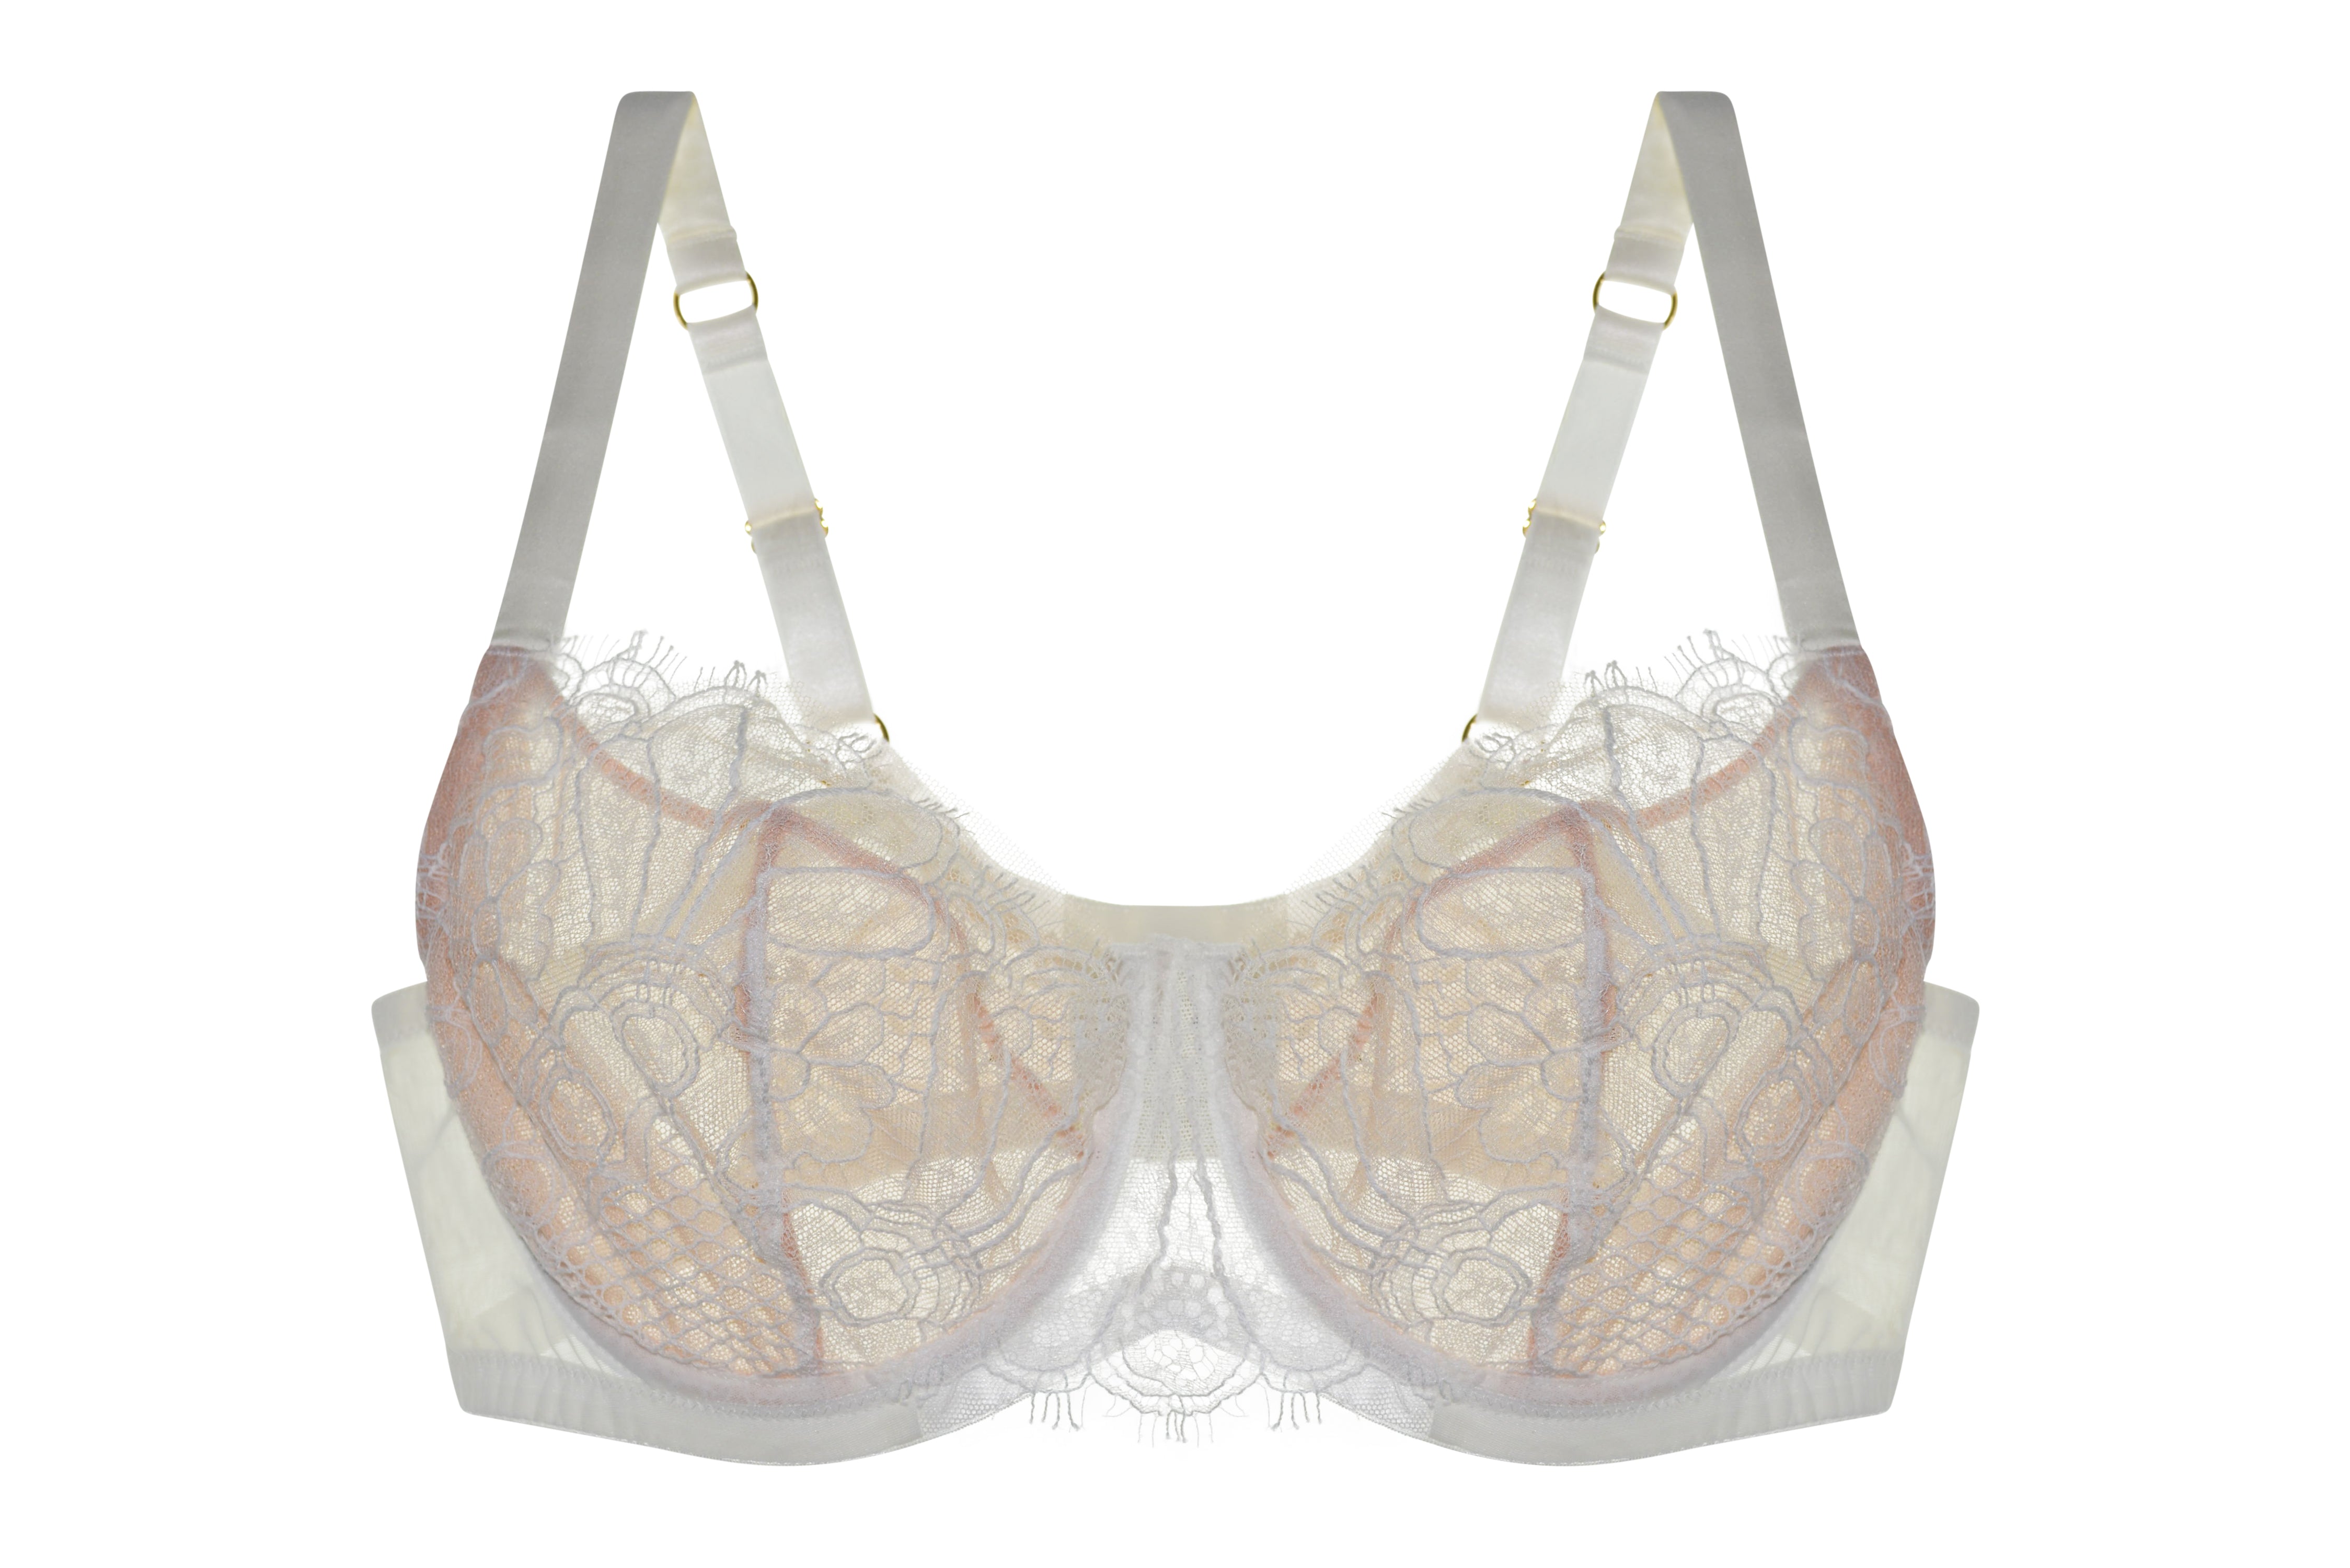
Before you assess the fit, wear your bra on the middle hook and do the “swoop and scoop” to position your breast tissue into the cups. Now look in the mirror and check for these signs of a good fit in our Perfect Bra Fit Checklist.
Perfect Bra Fit Checklist
-
Band is horizontal and snug. It doesn’t ride up. It should feel secure without pain.
-
Cups fully contain your breast tissue—no spillage or gaping.
(If one breast is larger, fit to that side and pad the smaller one if needed.) -
Straps lie flat without digging in or sliding off. Adjust as needed.
-
Underwires follow your breast root and rest against your rib cage.
A slight lift at the sternum is okay if the rest of the fit is solid.
These four signs eliminate most fit issues. But what if something still feels off?
Adjusting the Bra Size: Common Fit Fixes
Cups too small?
Go up a cup size.
Example: 34D → 34E
Cups too big?
Go down a cup size.
Example: 34D → 34C
Band too tight?
Go up a band size and down a cup letter.
Example: 34D → 36C (NOT 36D, as explained in Bra Sizing Explained section)
Band too loose?
Go down a band size and up a cup letter.
Example: 34D → 32E (32DD) (NOT 32D, as explained in Bra Sizing Explained section)
Bra Sizing Explained: Understanding Sister Sizes
When you try on a shirt, you select sizes that look something like S-M-L-XL. The shirt gets larger with each letter so you if you need to tweak the fit, you simply go up a letter to get a larger shirt or down a letter to get a smaller shirt. Bra sizing is a bit more complicated which is why it’s important to introduce the concept of bra sister sizing.
Bra sister sizes have the same cup volume but different band sizes.
For instance, a person wearing a 34D could also fit into a 36C, which will look the same in the cup, but will be looser around the torso. Likewise, the same person could also wear a 32E (32DD) but the band will be tighter around the torso.
Bra sister sizes are important because:
- they help you find a bra with a perfect fit
- they help you shop from a brand that doesn’t carry your usual size (but be cautious here, the bra still needs to fit well)
Quick rule of thumb:
Go up a band = down a cup
Go down a band = up a cup
Example:
Your 34D bra is too loose around the torso. You try a 32D, but now the cups feel small. That’s because 32D has a smaller cup than 34D. The correct sister size is 32DD (32E).
Bra Fitting Advanced: Troubleshoot These Common Issues
Now that you’re navigating bra sizing lingo like a pro, let’s cover some more advanced fit issues and how to solve them. Here’s how to fix those stubborn fit problems:
Lack of Lift (a.k.a. Sagging)
Problem: Your bra isn’t lifting your bust the way it should.
Likely Cause: Your band is too loose. The band is the main support system—if it rides up, the front dips down.
Fix:
-
Go down a band size (or two). The band should sit straight and snug, not arch upward.
-
Also consider: If you’re full-busted, seamless or molded cups may collapse under pressure.
-
Opt for bras with vertical seams, which offer reinforced lift.
Band Digging In or Chafing
Problem: Your band is either cutting in or irritating your skin.
Fix:
-
Can’t pull the band away from your back? Try a larger size.
-
Band riding up? Go smaller.
-
Still uncomfortable? The fabric could be the culprit—choose soft, lined styles.
Cups Gaping or Wrinkling
Problem: The cups don’t lie smoothly against your breasts.
Fix:
-
Try a smaller cup size.
-
If the underwire feels too small, you might have full-on-bottom breasts. These don’t fill taller cups well.
-
Choose demi or balconette styles instead of full-cup bras.
Spilling Out of Cups (Quadboob Alert!)
Problem: Tissue bulges over the top or sides of the cup.
Fix:
-
Go up a cup size.
-
Consider shape:
-
Soft breast tissue can spill out of plunges.
-
Firm breasts may get cut off in balconettes.
-
Try a full-cup bra with deep underwires for better containment.
One Cup Fits, the Other Doesn’t
Problem: One cup gapes or digs in.
Cause: You have asymmetrical breasts—totally normal!
Fix:
-
Look for bras with removable padding. Fit the larger breast, then pad the smaller side.
-
Or try stretch cups—they mold to both sides, though support may vary.
Center of Cups Gaping
Problem: The cups fit everywhere but the center.
Cause: You may have wide-set breasts (more tissue toward the underarms).
Fix:
-
Choose bras with wider gores (center panels).
-
Front-close bras are especially good for wide spacing.
Bottom of Cups Collapsing
Problem: Wrinkling or emptiness at the bottom of the cups.
Cause: Your bra is too shallow for your breast shape.
Fix:
-
Try bras with horizontal seams or styles made for forward projection.
Gore (Center Panel) Won’t Lay Flat
Problem: The center front of your bra floats off your chest.
Fix:
-
Try a larger or deeper cup—your current one may be too shallow.
-
If the gore buckles, you might have close-set breasts.
-
Look for a narrow gore or try a plunge bra, which sits lower on the chest.
Straps Digging In
Problem: Your shoulders are doing all the heavy lifting.
Fix:
-
Go down a band size. A snug band takes pressure off your shoulders.
-
If loosening your straps doesn’t help, it’s probably not a strap issue—it’s a support issue.
Straps Falling Off
Problem: Constantly adjusting falling straps?
Fix:
-
Try a smaller band to anchor the straps better.
-
Have narrow or sloping shoulders?
-
Avoid balconette bras (widely placed straps).
-
Try racerback or convertible straps instead.
Underwires Hurting
Problem: Poking, pressure, or pain from the wires.
Fix:
-
Lean forward and scoop your breast tissue fully into the cups—your wire should sit under the tissue, not on it.
-
If this causes overspill, go up a cup size.
-
Wires still uncomfortable?
-
Demi and plunge bras have shorter wires, especially helpful at the sternum or sides.
Still Having Fit Issues?
Not every fit problem fits into a neat category. If you’re still struggling, email us at hello@teamorelingerie.com or visit a local lingerie boutique for a professional fitting. [Click here for a list of US boutiques we love.]
Remember: There's a bra out there that fits—and feels—just right.